

Why the usual order does not survive contact with a site
Durable identification is made in runs. Photo-anodized aluminum plates are laid up and cut as a sheet. Engraved tags are set up once and produced as a batch. Even ordinary UV-resistant vinyl comes with minimum quantities and a lead time.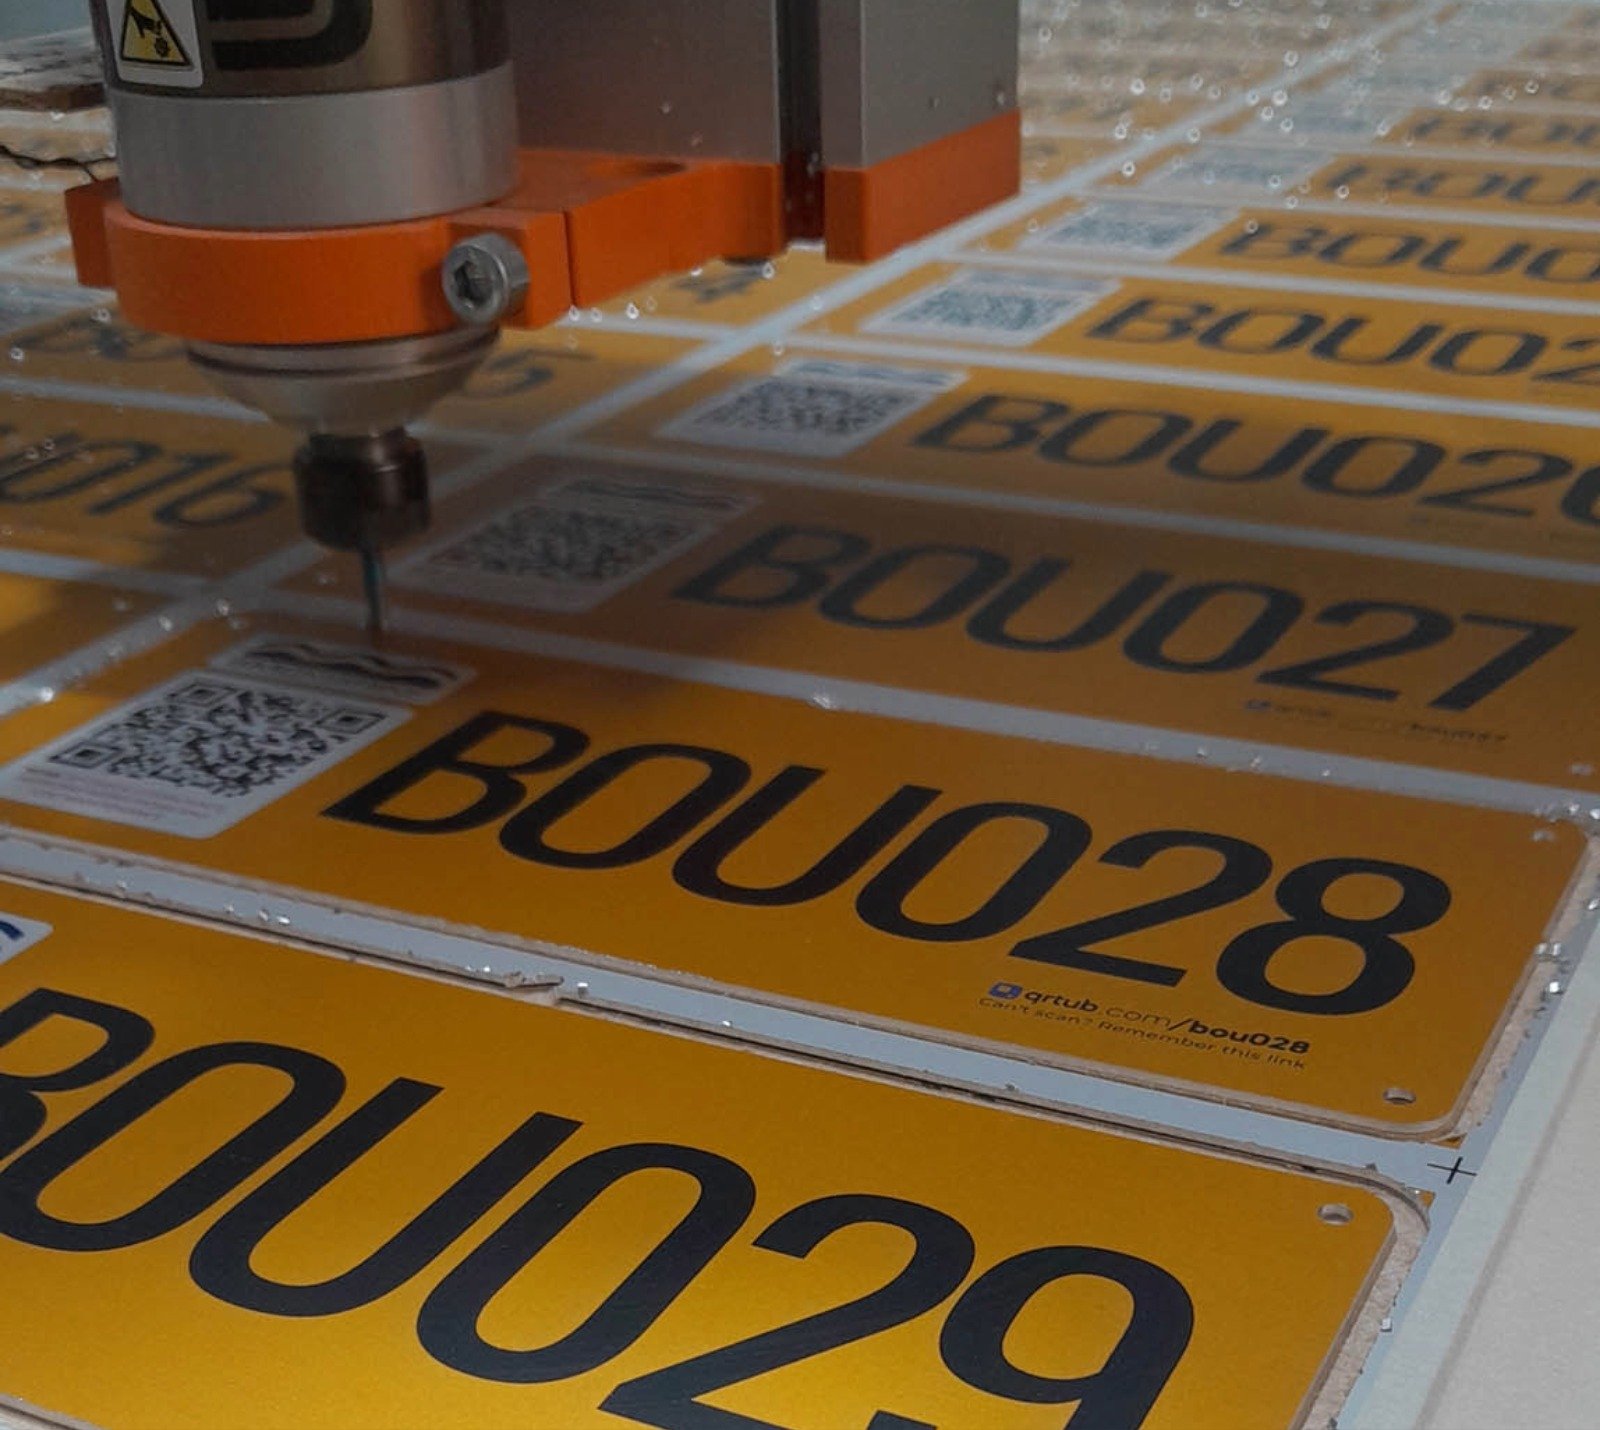
The four steps
1. Generate the Links first. Create as many as you need — a hundred, a thousand — before any Items exist. Each one is a real, resolvable URL from the moment it is created. 2. Send the batch to be produced. Export the list and give it to whoever makes your tags. Plates, engraved labels, weatherproof vinyl, NFC inlays — the medium does not matter, because all it has to carry is a URL. Exporting a print list also records the run as a print batch, so you can tell later what was in that order. 3. Apply tags as gear arrives. Fix a tag to each asset as it lands, in whatever order things turn up. No decisions required beyond “this tag is now on this machine”. 4. Connect when you are ready. Create the Item and connect it to the tag already on it. This is the only step that needs someone to think, and it is a single action.What happens if someone scans a tag early
This is the question that usually decides whether the workflow is practical, and the answer matters: an unconnected code does not 404. Someone on your team who scans it gets an option to assign it there and then, from their phone. Anyone else gets a neutral branded page rather than an error. So a tag applied on Monday and connected on Friday is not a dead code in the meantime — it is simply not allocated yet. See Unallocated Links for the full behavior.Getting the mistakes back
Tags get put on the wrong machine. Gear gets sold. A Link can be reassigned to a different Item at any point, so a mistake costs an edit rather than a reprint. The same applies at the end of an asset’s life. Deleting an Item does not delete its Link — the Link is released back to your unassigned pool, so a tag already fixed to something in the field keeps working and can be reused. See Deleting, Unassigning, and Releasing Links.Where the codes point
A Link can go straight to a single destination, or open a Page with several options. Either way you set it up once for the whole Collection rather than per tag, using a template that fills in each Item’s own data:& will break the resulting link, so keep the fields you bind into a URL clean. See Field Bindings & URL Templates for the full syntax.
Because the destination is held by QRtub rather than baked into the code, you can change where every tag points later — a new system, a new URL structure — without touching anything physical.
Related
- Tips for Print-First Rollouts — numbering, readable text, spares
- Unallocated Links — a printable Link with nothing attached yet
- Print Batches — tracking the run once it is sent to print
- Choosing Your Print Production Method — getting the run actually made